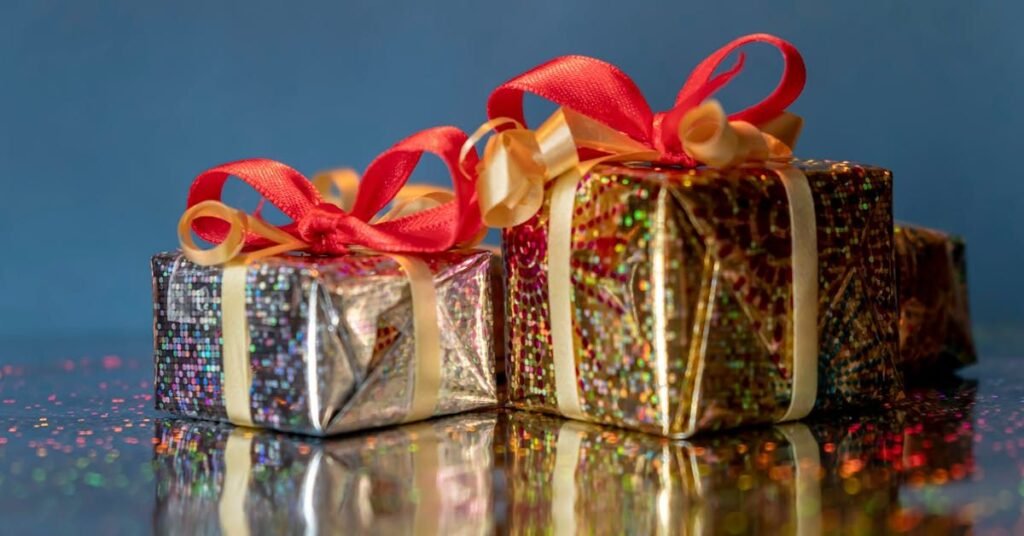
A beautifully wrapped gift instantly feels more special—no matter what’s inside. And the best part? You don’t need fancy supplies or professional skills to make your gifts look elegant.
In this step-by-step guide, you’ll learn how to wrap gifts at home like a pro using simple tools, clean techniques, and a few easy styling tricks.
What You Need for Beautiful Gift Wrapping
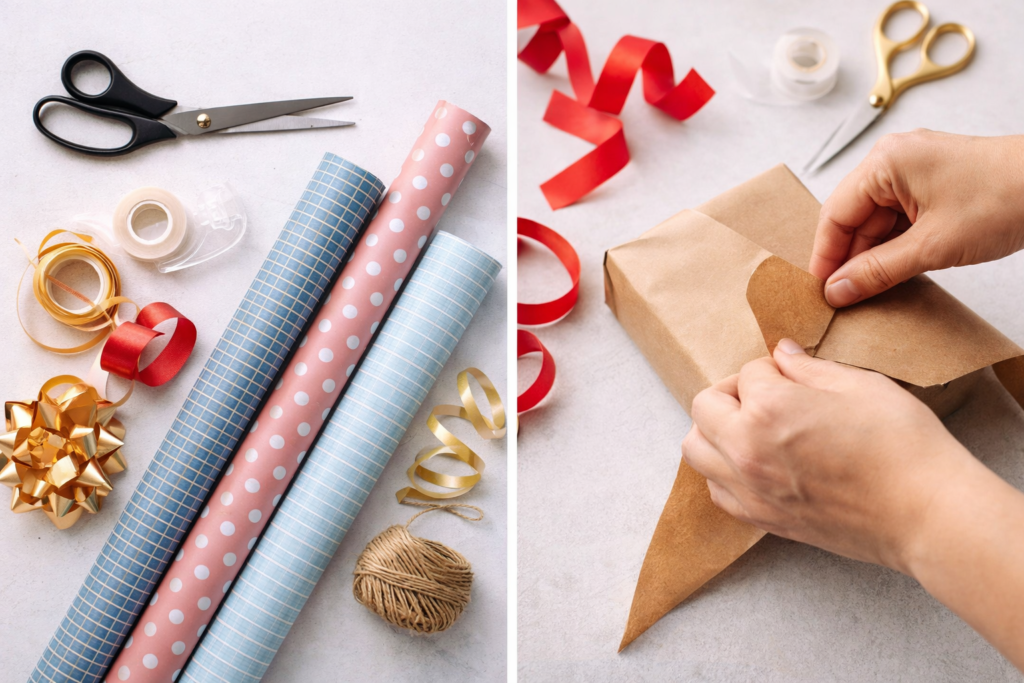
Before you start, gather these basic supplies:
- wrapping paper (or kraft paper)
- scissors
- tape (clear tape works best)
- ribbon or twine
- gift tag / small card
- optional: double-sided tape, tissue paper, decorative stickers
Pro Tip: Kraft paper + ribbon always looks premium and minimal—perfect for birthdays and holidays.
Step 1: Choose the Right Wrapping Paper
Your paper choice matters more than people think.
Best wrapping paper options
- Matte paper (looks classy, doesn’t show fingerprints)
- Kraft paper (minimal and elegant)
- Solid colors (always clean)
- Small print patterns (safe and stylish)
Avoid:
- paper that’s too thin (tears easily)
- loud or messy prints (looks cheap)
Step 2: Measure the Paper Correctly (No Waste)
This step makes wrapping look clean.
- Place the gift box upside down on the paper.
- Pull the paper up the sides—make sure it reaches a little past the center.
- Leave about 1–2 inches extra paper.
- Cut in a straight line.
Tip: Too much extra paper creates messy folds. Neat wrapping = correct measuring.
Step 3: Create Clean Edges for a Professional Look
One simple trick makes wrapping look premium:
✅ Fold the paper edge inward (about ½ inch) before taping.
This creates:
- a clean seam
- neat finish
- “store-quality” look
If you have double-sided tape, use it for an invisible finish.
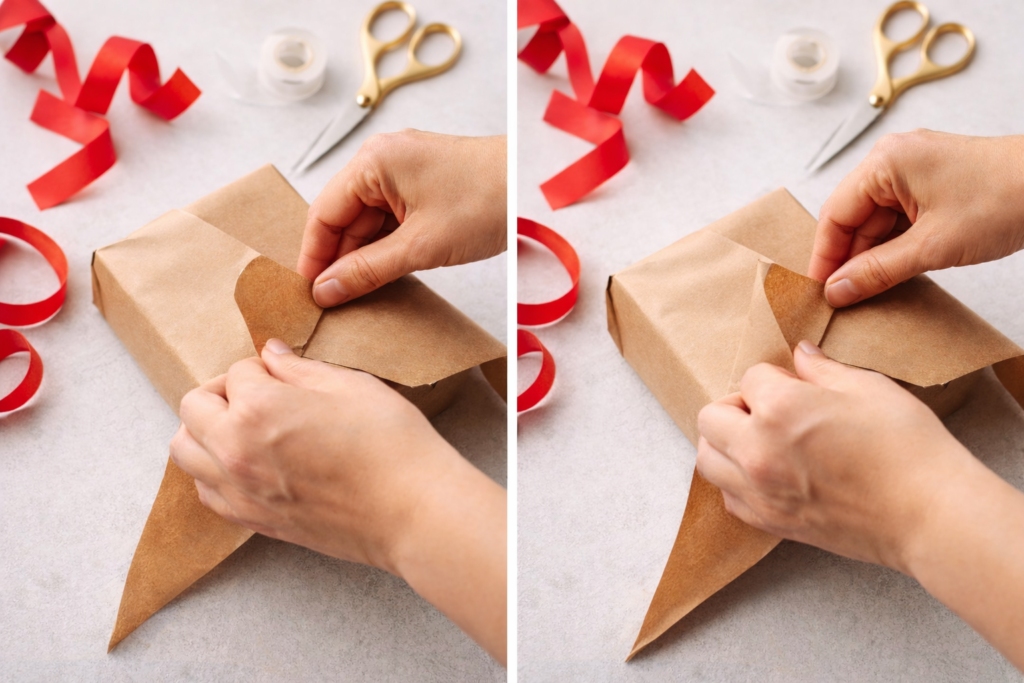
Step 4: Wrap the Sides Like a Pro (Simple Method)
For the side folds:
- Push the sides inward to form two triangles.
- Fold the top triangle down.
- Fold the bottom triangle up.
- Tape neatly.
Tip: Use your fingers to press folds sharply for clean corners.
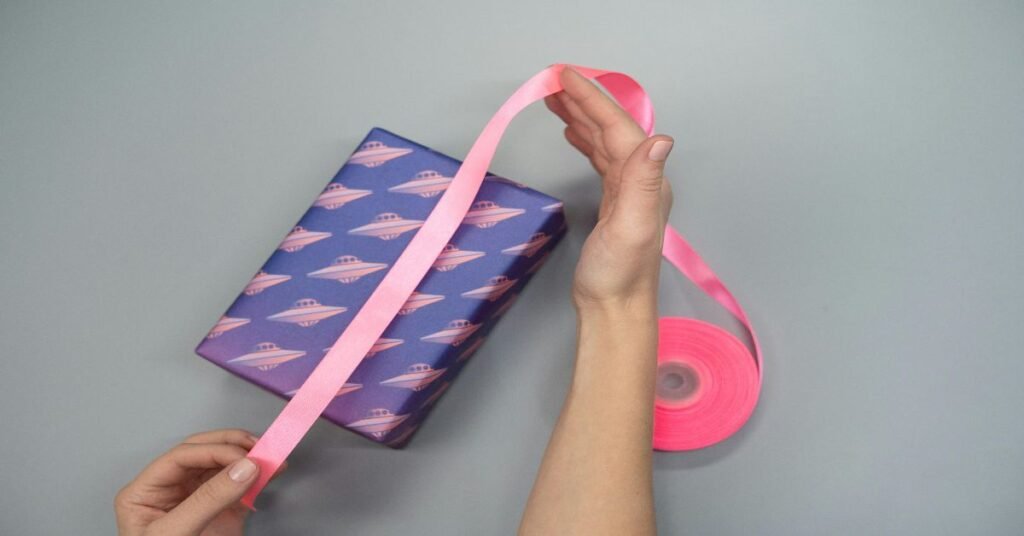
Step 5: Add Volume & Style (Simple but Beautiful)
This is where you make it look “expensive”.
Easy styling ideas
- add a ribbon in a cross shape
- use twine for a minimal look
- place a small dried flower leaf
- add a simple sticker/seal
- add a gift tag with a clean message
✅ Minimal style usually looks more expensive than too much decoration.
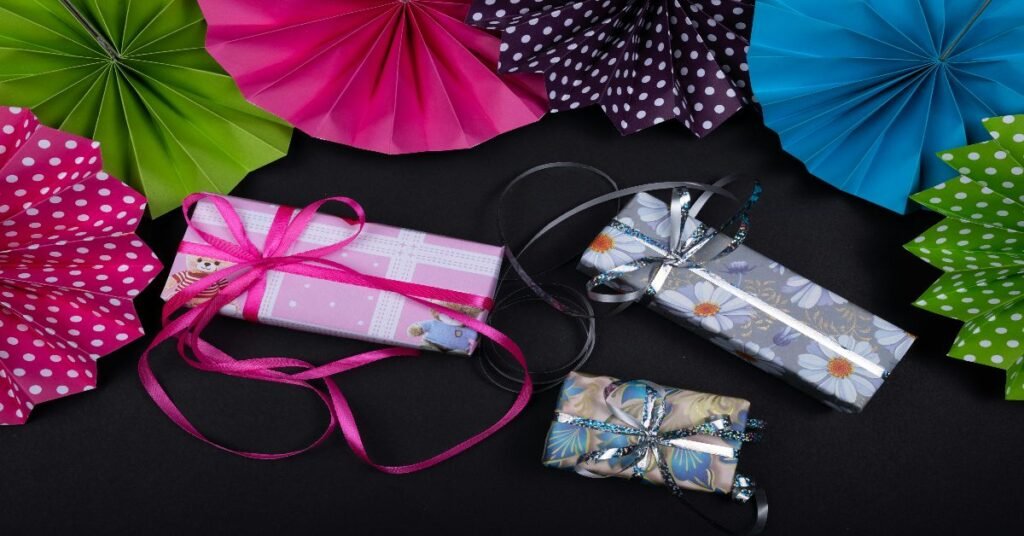
Best Gift Wrapping Styles (Pick One)
Here are a few styles that always look good:
1) Minimal luxury
kraft paper + satin ribbon
small tag + clean handwriting
2) Cute & colorful
solid bright paper + curly ribbon
themed gift tag
3) Elegant for adults
black/white paper + gold ribbon
minimal card
4) Rustic style
kraft paper + twine + small leaf
How to Wrap Odd-Shaped Gifts
Some gifts are hard to wrap, but there are easy solutions.
For clothes / soft items
Use a gift bag OR wrap like a pouch:
- place in tissue paper
- tie ribbon on top
For bottles
Wrap with tissue paper + ribbon at the neck
For round items
Place in a box first (best trick)
Then wrap normally.
Common Gift Wrapping Mistakes to Avoid
Avoid these mistakes to keep your wrapping neat:
❌ too much paper
❌ uneven cutting
❌ loose folds
❌ tape showing everywhere
❌ too many decorations
Clean + neat always wins.
Final Thoughts
Wrapping is not about perfection—it’s about presentation. With a few basic supplies and simple steps, you can wrap gifts beautifully at home and make any gift feel more special.
If you follow:
- correct measuring,
- clean folds,
- simple styling,
your gifts will always look polished and premium.